

I know unusual to find me posting at this time of day (well at least I hope it has posted as I'm not at home hopefully I'm making lots of sales at a ladies evening as you read this) So if Mr Blogger has been good and posted I'm taking part in my team mate Jennifer's latest blog event Frosty Festivities.
I've pinched this blurb from her blog to tell you all about what is going on.
On Friday
16th November – Sunday 18th November I will be holding a
Blog Event called ‘Frosty Festivities’. Over that weekend there will be posts
every hour from 4pm-10pm Friday, and 10am-10pm Saturday and Sunday (GMT), all on
the theme of 'Winter' including tips, tutorials, challenges, crafts, a blog hop,
and lots of giveaways.
As part of the event she is holding a blog hop which if you are following you will have arrived from
if your not what are you waiting for head over to the first stop of the hop which is
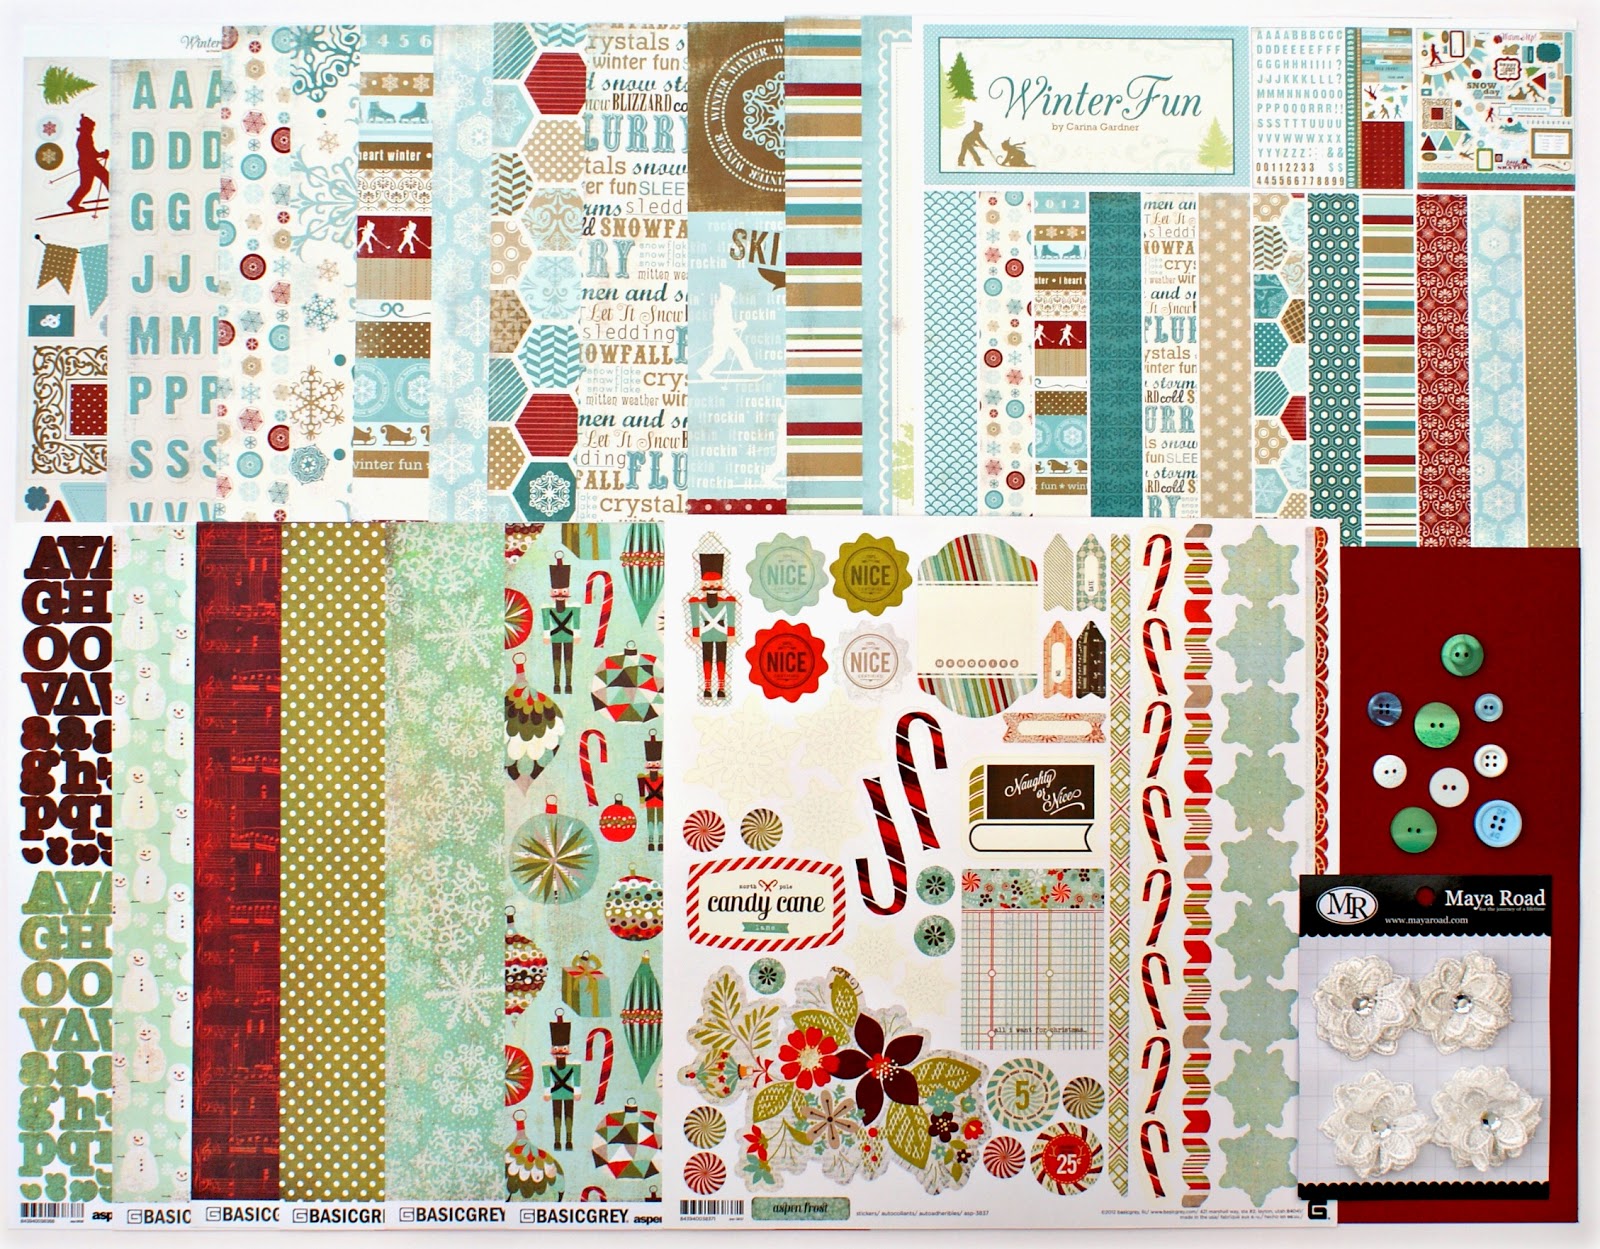
'If you comment on all the blogs in the hop, finishing at Jennifer's blog don't forget to let her know by leaving her a comment you could win a spectacular seasonal prize of Basic Grey Aspen Frost and Carta Bella Winter Fun items, worth over £25! All entries must be received by Monday the 19th of November at 10.59pm GMT. Your next stop along the hop is
For my part in the blog hop I have made a wine bottle tag with a pocket for some little chocolates to add to that boring bottle of wine your going to give as a present at Christmas.

Now these are really easy to make you need a piece of card 7 x 21 cm and another smaller piece 9 x 12cm.

On the larger piece score at 6.5 cm.
On the smaller piece you need to score the 9cm side at 6 & 7.5cm. on the 12cm side you need to score at 1.5, 3, 9 & 10.5 cm.
.jpg)
Take the smaller piece which will become the box on the front of the tag and cut the tabs as the photo above.
.jpg)
Next taking a nestie shape or you could use a circle punch cut a hole out to make it easier to get the chocolates in and out of the box.
.jpg)
I have used a matching nestie in a larger size to shape the bottom of my tag. By placing your tag through you nestie as in the photo above you will only cut the bottom edge.
.jpg)
You will need to cut a hole in the top section of you tag so that it fits over your wine bottle. The decorate your tag either with pretty papers or as I have done stamps.
.jpg)
Stick the pocket together .
.jpg)
Attach the pocket to your tag

Cut a circle frame using 2 different sized nesties.
.jpg)
stick the frame around the whole you cut in the top of the tag.
.jpg)
Decorate the front of the pocket and add chocolates.
Now hop over to Jo.B's blog and see what she's come up with.

43 comments:
Oooo, good idea, I've made one before with money in but hadnt thought of chocolate :)
wow what a great idea to add to a bottle.
Love your wine bottle tag idea, have bookmarked that to come back to, thanks for sharing.
i wondered how these were made....and now i know. I can see me making a few of these for christmas...Brilliant idea x
Wow, such a clever idea. Will definitely try this
Oh my, that's fab - it would be great for teacher gifts! My daughter's going to have happy teachers this year... :)
Wow, this is such a cute clever idea. Will definitely try it!
Wow, this is such a cute clever idea. Will definitely try it!
(Sorry if this is a repeat, blogger playing up)
OOOH - I've made the tags before but never with a chocolate holder - genius! Thanks for the great tutorial...
wow Jenny that's beautiful, now can I borrow ur dies please?
Jo xxx
Hiya Dragonllew long time no see from the ol MSE days! I love your bottle tag it is fab and I even have that reindeer die so I might just have to give it a go!
Ooh, this is awesome! Brilliant idea for a gift. We always give a bottle of wine to someone, so I'm going to make one of these in preparation - the addition of a pocket for chocolates is inspired!
Thanks so much for joining in with the Hop! x
Oh, this is really clever! The pocket adds a special extra touch - brilliant.
What a nice idea. Thanks for the tutorial.
what a great idea, makes a bottle of wine look so much more special.
I've never thought of adding chocolate to a wine gift. It shows extra-extra thought. Great idea. Great project too. I've bookmarked you to come back to and explore when the hop is over.
What a good idea! Love it. Hope you made lots of money tonight
This is such a fun idea....I like the addition of chocolates as well.
That is a lovely novel idea
What a super idea....chocs as well as wine!!! Love the little box!!
Hi Jenny! My first visit to your blog - it looks nice here.
What a great project this is! I love the little touches you used, to make it special - the shaped top for the pocket, the all-over stamping to decorate the hanger, the cute reindeer on the tag. It's really nice.
But just for the record, I don't give "boring" bottles of wine, only good ones ;-)!
That's such a clever idea Jenny - thanks for sharing!
Love the idea of chocs as well as wine!!! Super box/tag!!!
That's brilliant Jenny! What a fab idea!
These are fab and sure do "jazz up" a bottle! Hope the ladies night was a huge success for you! xx
That's a lovely idea of how to make a bottle special. Thanks for the tip on how to cut just one end of a die - I've wondered if I could do that.
that is such a fab idea for decorating a bottle - thanks for sharing x
I love home-made gifts - but don't have time to make anything too fancy - and there are so many people that don't "need" anything at Christmas, which makes consumables a great choice - so your idea is just perfect!
What a fabulous idea! I love the versa mark ink stamped words, too.
What a great idea. You could also put some cheese/ cheese and crackers in the pocket, I bet!
Rinda
What a clever idea - and so many possibilities ... hadn't thought of using nesties to just cut the end like that either - thanks for the inspiration :o)
what a cool idea! such a sweet homemade touch.
What a great idea! Am off to pin it...TFS!
Alison xx
Ooh, very pretty, and a great idea!
what a realy really unisial idea and one I am, definitely going to try
Oh I like this - and I can see it for doorknobs for small people's birthdays or a special treat. How fun - thanks for the tutorial.
What a great idea, very festive looking!
What a great idea and fab tutorial, thank you Jenny x
Fab tutorial. Nice to add that little extra touch.
Great tutorial and love the little chocolate pouch
Oh, that's cute, mind if I steal this idea?
So cute, what a great idea. Thanks for the tutorial.
Great idea. Thanks for the inspiration
Post a Comment